
555-555-5555
mymail@mailservice.com


How to Remove Window Tint Easily
Does your once flawless window tint now look bubbly and distorted, obscuring your view? Imagine trying to look outside through a window clouded with peeling tint—fuzzy images and reduced clarity make your daily environment less pleasant. Such deteriorating window film not only looks unattractive but fails to protect against UV rays and maintain privacy.
Understanding how to properly remove this old tint not only revives the look of your windows but also restores their functional benefits, making your space more comfortable and energy-efficient.
What Are the Signs Your Window Tint Needs to Remove?
Window tint lifespan can vary, but there are clear indicators when it's time to remove it:
- Bubbling or Peeling Tint: These are signs that the adhesive is failing. Peeling tint can reduce visibility, which might compromise safety.
- Fading or Discoloration: Sun exposure causes tints to fade, reducing their effectiveness in blocking harmful UV rays and heat.
- Scratches or Damage: Damage from sharp objects or improper cleaning techniques can significantly reduce the aesthetic appeal of your tinted surfaces.
- Improper Installation: This might manifest as air bubbles or uneven lines, indicating the tint film was not applied correctly.
- Outdated Tint: Over time, tint materials can degrade or become non-compliant with current tinting laws, necessitating their removal.
Can You Remove Tint by Yourself?
Yes, you can remove window tint by yourself, but it requires careful preparation and execution to avoid damage to the glass or surrounding surfaces. By following detailed steps that involve gathering the right tools such as a flat razor blade, soapy water, and ammonia-based solutions, you can effectively remove the tint.
However, it's important to consider the potential risks, such as scratching the glass or leaving adhesive residues, particularly if you're inexperienced. While DIY methods can be cost-effective, turning to professional services guarantees a clean and safe removal process without the risks associated with doing it yourself.
Is Removing Window Tint Difficult?
Removing window tint can be moderately challenging, especially if you're attempting it for the first time without professional experience. The difficulty largely depends on the type and condition of the tint, as older films tend to be more brittle and have adhesives that are harder to break down.
Successfully removing window tint requires careful preparation, appropriate tools, and a methodical approach to prevent damage to the glass and avoid leaving adhesive residues. While it's possible to do it yourself, some may find the process time-consuming and potentially frustrating, making professional removal services an appealing option for a hassle-free experience.
How to Remove Window Tint from Your Home or Office
Effective window tint removal from glass surfaces in residential or commercial settings requires meticulous preparation and execution to mitigate potential damage to the surfaces. Proper removal techniques help preserve the integrity of the glass while ensuring a clean removal process.
Step 1: Gather Necessary Materials
Begin your window tint removal by gathering essential tools such as:
- Ammonia solutions
- Flat razor blade
- High-quality cleaning solutions
- A couple of paper towels
Having all necessary materials ready beforehand streamlines the process, making sure it is efficient and orderly. This preparatory step is pivotal in facilitating smooth and quick tint removal from glass surfaces.
Step 2: Protect the Surrounding Area
Use robust drop cloths to cover interior furnishings and floors, and apply water displacers to protect sensitive components from potential splashes of cleaning solutions. This protective step is essential to minimize the need for extensive cleaning efforts after the tint is removed from the windows. By safeguarding the surrounding areas, you also protect the property from accidental damage during the tint removal process.
Step 3: Peel and Scrape the Film
Initiate the removal by carefully peeling the window film at one corner with the aid of a sharp razor blade. If the tint film resists easy peeling, utilize a hair dryer to emit gentle heat, thereby loosening the adhesive without inflicting damage on the glass. This method allows for easier scraping of the film while preserving the quality of the window.
Step 4: Apply Soapy Water
Generously spray a dish soap solution onto the glass using a spray bottle to soften any leftover adhesive residue. This application of soapy water facilitates the loosening of the remaining adhesive, making it significantly easier to scrape off completely. The soap acts as a gentle yet effective solvent for dissolving the sticky residues.
Step 5: Clean With Ammonia-Based Solution
Following the tint peel, administer a diluted ammonia solution to the glass to tackle any stubborn tints that cling to the surface. This step ensures that even the most resistant layers of tint and adhesive are effectively removed, leaving the glass impeccably clean.
Step 6: Wipe and Dry the Windows
Conclude the process by applying a high-quality glass cleaner, followed by wiping with fresh paper towels to dry and polish the windows. This final step guarantees that the windows are not only tint-free but are left sparkling without any residual glue or streaks.
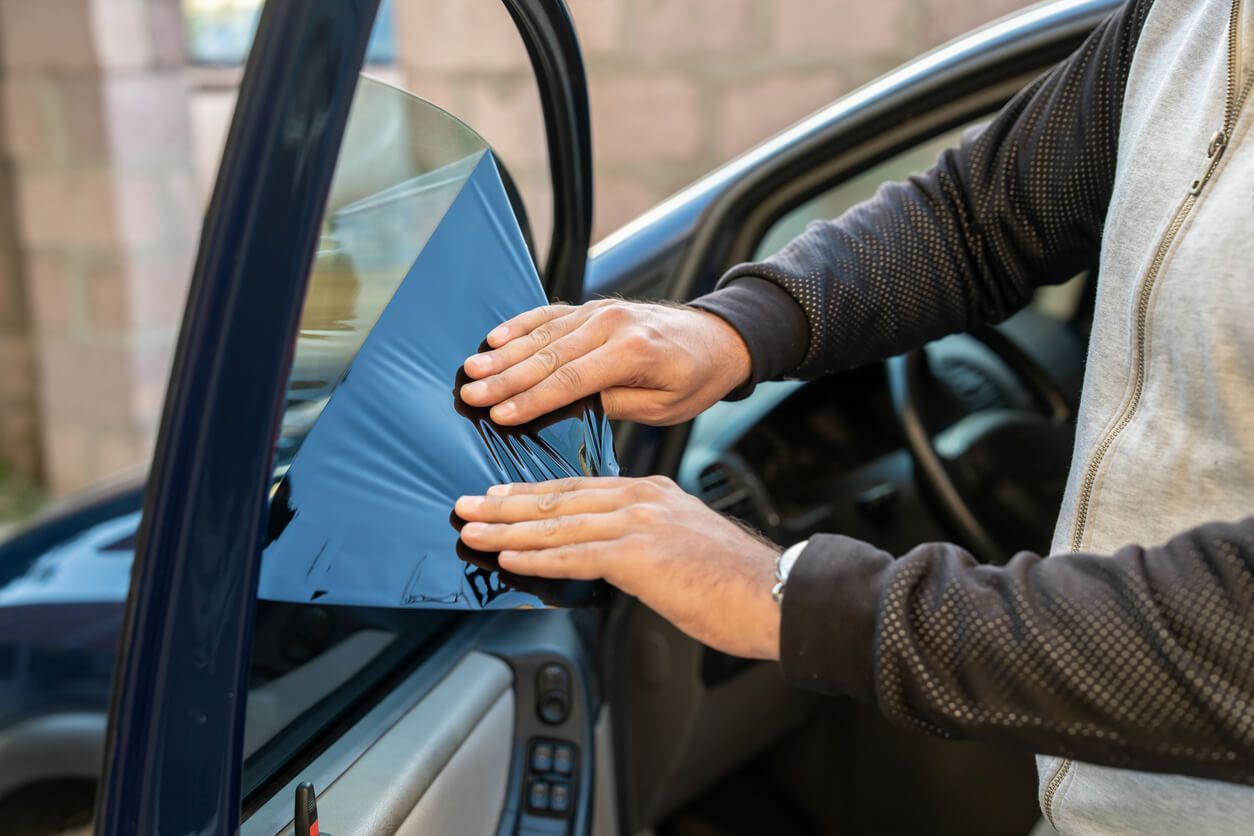
How to Remove Tint From Car Windows
Removing window tint from automobile glass requires a specialized approach to safeguard electronic components and interior upholstery from damage.
Step 1: Create a Soapy Detergent Spray
Prepare a simple yet effective lubricating agent by filling a spray bottle with a mix of clean water and dish soap. This solution of soapy water acts as a lubricant on the tint film, easing the subsequent peeling steps.
Step 2: Cover With Plastic Sheeting
Once the tint film is soaked with soapy water, cover it with a sheet of plastic to prevent the solution from evaporating. Keeping the film moist ensures the adhesive stays soft, simplifying the removal process.
Step 3: Heat the Window
Apply a gentle flow of heat using a hair dryer or a fabric steamer to the window. This warmth helps loosen the tint adhesive, allowing the tint film to be peeled off more cleanly and efficiently from the car's glass.
Step 4: Peel Off the Tint Carefully
Start peeling the window tint cautiously, using plastic scrapers instead of metal to lift stubborn sections of the film. This careful peeling helps ensure the glass remains unscratched and intact during the removal process.
Step 5: Remove Adhesive Residue
Address any remaining adhesive on the glass with either a homemade cleaning mix or a professional window tint removal spray. These solutions help thoroughly clean the glass surfaces so that they are clear and free of sticky residues.
Step 6: Clean and Dry the Window
Finish the tint removal by thoroughly cleansing the window with a reliable window cleaner and then drying it with a soft, dry towel. This makes the glass perfectly clear, without any streaks or remaining adhesive.
How Much Does Window Tint Removal Cost?
The costs associated with window tint removal vary depending on whether the removal is done professionally or through DIY methods. Professional installation and removal services for residential and commercial properties typically range between $3 to $6 per square foot, depending on the old tint quality and window size.
For DIY enthusiasts, purchasing a window tint removal kit may cost between $20 and $50, a much cheaper option compared to professional services. Car tint removal at professional tint shops can be estimated between $50 and $250, whereas handling it yourself with a kit and tools might only set you back $15 to $30.
However, while DIY methods can provide a more economical option for window tint removal, improperly handled tint removal can lead to costly mistakes such as scratched glass or damaged defrosters. Professional removal ensures that your tint is removed cleanly and safely without risking damage to your windows or vehicle.
Ready to Clear Your View? Premier Window Tinting At Your Service!
Effective window tint removal is an essential maintenance aspect that should not be overlooked, as it directly affects visual comfort, privacy, and protection. If you are worried about the complexity of the task, Premier Window Tinting can help. Our experienced technicians, equipped with the best tools and techniques, ensure that every removal job is performed with precision and care.
Trust us to efficiently restore your windows' clarity and functionality.
Book your service with us now and witness how we transform your tinted windows with professionalism and expertise.
More Articles

House Window Film - Is It For Me?
When you think of a window film, the first thing that springs to mind is probably tinted windows in your car. However, window film is also very popular for

How Window Tinting Can Boost (And Protect) Your Business
Running a business can be a challenge, and while commercial window tinting might not be the first thing you think of when upgrading your property, it can provide you with

Residential Window Tinting - 5 Must Have Benefits
Thinking of upgrading your home? Want to make your home more efficient? If you are looking for a cost-effective upgrade to your property, window tinting is an easy win


Contact Us
Phone: (210) 497-6007
Email: admin@premierwindowtinting.com
Address: 3623 E. Evans Rd. Suite 113
San Antonio, Tx 78259
Serving San Antonio, Tx and the surrounding areas
MON-FRI 09:00am - 5:00pm


FAQ
Most frequent questions and answers
